If you’re looking to refresh your room with new wallpaper or a fresh coat of paint, it’s crucial that you start by removing any old wallpaper or woodchip. In this guide, we discuss how to remove wallpaper and create a smooth, clean surface that ensures a seamless finish when you begin decorating.
Removing your old wallpaper makes decorating much easier and will prevent creases and air bubbles from appearing when you hang your new wallpaper. This not only guarantees a superior finish, but also significantly enhances the longevity of your new wallpaper.
Before we discuss how to remove wallpaper, it’s important that you know how to prepare your space to ensure everything goes smoothly. You can prepare your walls by following the steps below:
- Clear the Walls
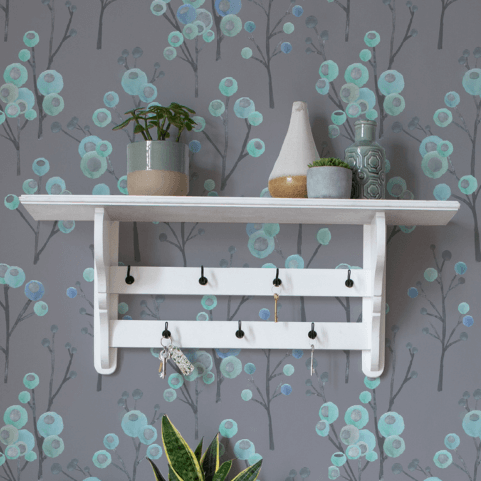
Start by removing pictures, mirrors, shelves, and any other obstructions from your walls. Clearing your walls streamlines the wallpaper removal process but also safeguards your décor items from any inadvertent damage. As an additional precautionary measure, you can use masking tape and plastic sheeting to cover and protect any sockets or switches. - Clear the Room Use Dustsheets
Once you’ve cleared any obstructions off the walls, you should begin to clear any furniture or décor items that may obstruct your wallpaper removal. Remove as much as you can from the room before you get started and if there is anything you can’t remove, simply bring it into the centre of the room and cover with dustsheets. Dustsheets should also be used to cover your flooring surfaces to protect them from any potential damage. This not only prevents any mishaps, but also streamlines the cleaning process. - Switch Off the Electricity
Safety should always come first which is why it’s important to turn off the electricity for the room in which you're working. You should be able to do this easily from your fuse box. By switching off your electricity, you minimise the risk of any water or steam entering the sockets or switches during the removal process.
Once you’ve cleared walls, secured sockets, and shielded any furnishings and surfaces, it’s time to start removing your wallpaper.
Follow the steps below detailing how to strip wallpaper and the tools you’ll require to do so efficiently.
What You’ll Need
Scoring Tool - A scoring tool, with its sharp blades, creates small perforations in the wallpaper, allowing the stripping solution to penetrate and loosen the adhesive bond.
Stripping Solution - Stripping solution works its magic by breaking down the adhesive, making the wallpaper more pliable for removal.
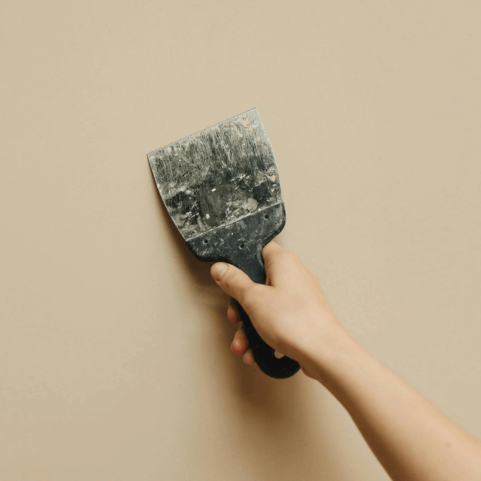
Wallpaper Scraper - Arguably the most important tool for wallpaper removal, a wallpaper scraper then allows you to gently lift and scrape off old wallpaper from the wall.
How to Strip Wallpaper: Step-by-Step
Preparation: Start by clearing the room, moving furniture, and covering surfaces with dust sheets to ensure a tidy workspace.
Scoring the Wallpaper: With the scoring tool, create small perforations in the wallpaper.
Application of Stripping Solution: Apply your chosen stripping solution generously, allowing it to permeate the wallpaper and work its magic on the adhesive.
Wait for the Solution to Work: It’s important that you give the stripping solution time to permeate the wallpaper and loosen the bond of the adhesive. Allow it to sit for at least 20 minutes to ensure the wallpaper is softened and is easy to remove.
Scraping Away the Wallpaper: Using your wallpaper scraper, delicately lift the wallpaper, starting from the edges. Work systematically across the wall, ensuring a careful approach. It’s important to be gentle as you don’t want to chip away at any exposed wall. However, if you do have a mishap, we address how you can fix any chips further down below.
When it comes to removing your wallpaper, the process can be made even easier with the use of a wallpaper steamer. A powerful ally when it comes to stripping your wallpaper, it penetrates the adhesive, loosening the paper for easy removal. This means a quicker removal, minimised wall damage, and the ability to tackle stubborn or multiple layers with unparalleled ease.
A typical wallpaper steamer comprises a water tank, a heating element, and a hose with a steaming plate. The water in the tank is heated, producing steam that travels through the hose and this is then released onto the wallpaper via the steaming plate. The steam works by softening the adhesive, allowing the wallpaper to be peeled away effortlessly.
To ensure an effective and safe removal of wallpaper, use the following steps below that detail how to use a wallpaper steamer:
Fill the Tank: Fill the steamer's water tank with the recommended amount of water. This is usually marked with a line on the tank.
Connect and Heat: Attach the hose securely and allow the steamer to heat up according to the manufacturer's instructions.
Apply Steam: Hold the steaming plate against the wallpaper, allowing steam to saturate the area for a few seconds.
Peel Away Wallpaper: Start peeling the wallpaper from the edges, working systematically across the wall.
Repeat as Needed: Move the steamer to the next section, repeating the process until the entire area has been treated with the steamer.
Tips:
- If the steamer isn't producing enough steam, check the water level and ensure proper heating.
- In case of water leakage, check the hose connection and tighten if necessary.
- Address any electrical issues promptly, ensuring safety during operation.

For those who prefer a more hands-on approach, or don’t have access to a steamer, there are still a number of ways to make the removal process a little easier. With the use of some simple household items like vinegar, fabric softener, hot water, and soap you can achieve a seamlessly stripped wall without the need for a steamer. Let’s explore some of these methods for removing wallpaper below:
How to Remove Wallpaper with a Vinegar Solution
- Mix equal parts vinegar and hot water in a spray bottle.
- Apply the solution generously to the wallpaper, allowing it to soak for 15-20 minutes.
- Peel away the wallpaper as normal, starting from the edges.
This method for removing wallpaper is both environmentally friendly and uses items that are readily available in the home. However, the pungent odour from the vinegar may be off-putting.
How to Remove Wallpaper with Fabric Softener
- Dilute fabric softener with water in a 1:1 ratio.
- Apply the mixture to the wallpaper, ensuring thorough saturation.
- Let it sit for 15-20 minutes before peeling off the wallpaper as normal.
Using fabric softener to remove wallpaper effectively enhances the pliability of the paper while giving off a pleasant scent. However, you will need adequate ventilation as otherwise the scent may be too strong.
How to Remove Wallpaper with Hot Water and Soap
- Fill a bucket with hot water and add a few drops of dish soap.
- Use a sponge or cloth to generously apply the soapy water to the wallpaper.
- Allow it to soak for 15-20 minutes and peel the wallpaper away.
This method again, uses simple products that are found within the home and produces minimal odour. However, it may require repeated applications to soften the wallpaper enough for removal.
Every journey encounters its challenges, and stubborn wallpaper is no exception. For those grappling with wallpaper that steadfastly resists conventional removal methods, there are a few more advanced techniques you can try including the use of putty knife, sandpaper, and chemical solvents.
How to Use a Putty Knife to Remove Stubborn Wallpaper
- Gently score the wallpaper with a scoring tool to create small openings.
- Slide a putty knife underneath the wallpaper, leveraging its thin edge to lift and loosen the adhesive.
- Work in small sections, repeat this process, exercising patience to avoid any damage to your wall.
How to Use Sandpaper to Remove Stubborn Wallpaper
- Sand the surface of the stubborn wallpaper lightly to break through the top layer.
- Apply a wallpaper removal solution to penetrate and soften the adhesive.
- Once softened, use a putty knife or scraper to peel away the loosened wallpaper gradually.
How to Use a Chemical Solvent to Remove Stubborn Wallpaper
- Select a wallpaper removal chemical solvent available at your local hardware store.
- Following the product's instructions, apply the solvent and allow sufficient time for it to penetrate and dissolve the adhesive.
- Once the adhesive has dissolved, employ a scraper or putty knife to peel away the remaining wallpaper cautiously.
When removing stubborn wallpaper, patience and perseverance is key. It’s important that you allow time for scoring tools, solvents, or abrasives to work their magic. Embrace a systematic approach, focusing on small sections to ensure you don’t get overwhelmed or frustrated. A gentle touch and a steadfast resolve will ensure success in the face of even the most stubborn wallpapers.
With the old wallpaper successfully removed, the next step should be preparing your walls for your new wallpaper. If you’ve accidentally damaged any of your walls while scraping your wallpaper, now is the time to fix this, addressing any imperfections and ensuring you have a clean, smooth foundation for decorating.
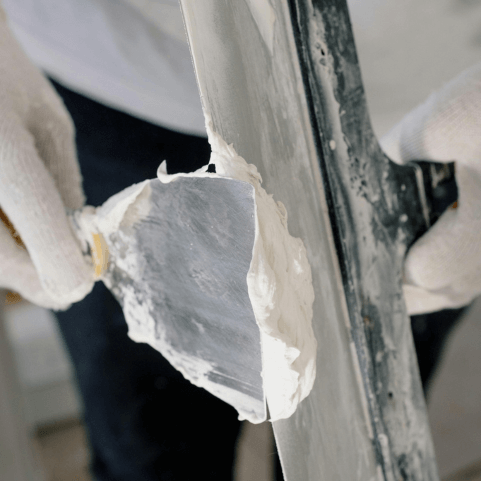
Smoothing and Patching
- Once your wallpaper is removed, you should inspect the walls for any remaining adhesive residue or chipped areas.
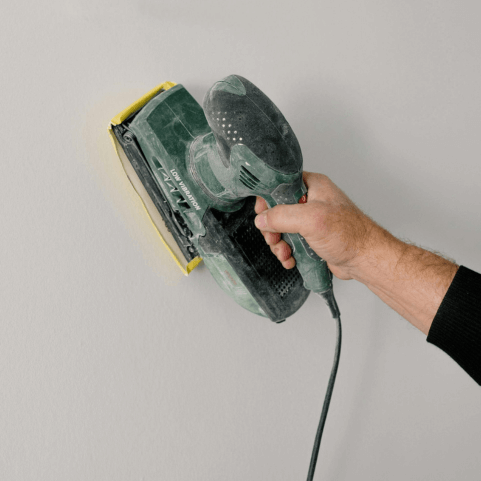
- Smooth out any uneven surfaces or bumps using sandpaper or a putty knife.
- Following the manufacturer’s instructions patch any chipped areas with spackle paste or Polyfilla.
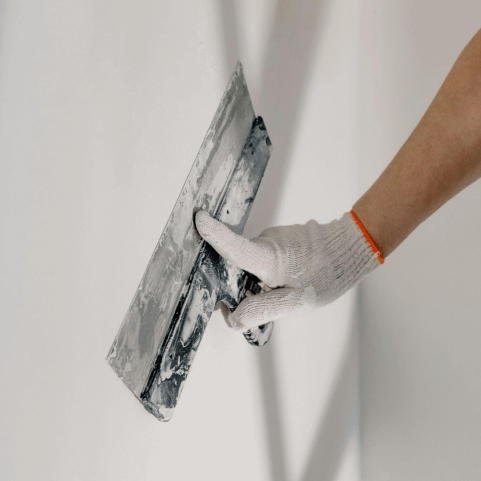
- Allow ample time for the patches to dry completely before proceeding.
- If the area is uneven, you can then sand this down once dry for a smooth finish.
Washing the Wall
- Fill a bucket with warm water and add in a few drops of your chosen household cleaner such as vinegar or dish soap.
- Using a damp cloth or sponge, work across the wall to remove any dust, dirt, or debris.
- Pay close attention to corners and crevices, ensuring a pristine surface for the primer.
- Allow the wall to fully dry.
Applying Primer
- Choose a high-quality primer suitable for your wall type and wallpaper material.
- Apply the primer evenly to the walls using a paint roller or brush, covering the entire surface.
- Allow the primer to dry completely according to the manufacturer's instructions before proceeding.
Final Clean Before Installation
- Wipe down the walls once more with a gentle solution of warm water and dish soap, using a clean, damp cloth to remove any lingering dust or residue.
- Allow ample time for the walls to completely dry before hanging the new wallpaper to prevent adhesion issues.
By meticulously preparing the walls for wallpaper installation, you set the stage for a flawless finish and long-lasting results. Taking the time to smooth, patch, clean, and prime ensures that your walls are in optimal condition, ready to showcase the beauty of your chosen wallpaper design without any hiccups. Follow our guide on How to Hang Wide Width Wallpaper, where our experts walk you through the next steps in your decorating project.
If the thought of parting with your beloved wallpaper is too daunting, fear not. Our experts present a quick fix for peeling wallpaper, offering an alternative to removal. Follow the steps below on how to fix peeling wallpaper and keep your space looking new.
Identifying the Issue
Whether dealing with pre-pasted or traditional wallpaper, understanding why your paper is peeling at the seams is important as this allows you to address the problem. Both pre-pasted and traditional wallpapers may exhibit peeling, often attributed to inadequate adhesive application during manufacturing or installation. Dampness or excessive use of paste during the hanging process may also cause loose seams as it often squeezes out between the panels of paper.
Fixing Peeling Wallpaper
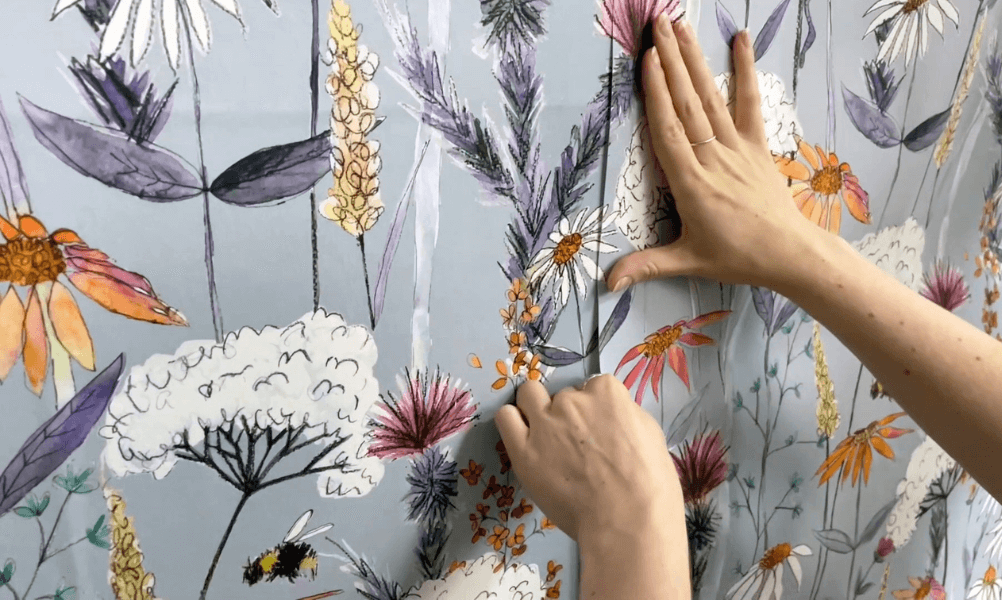
Gently Pull Back the Wallpaper: Begin by delicately pulling the peeling wallpaper back to where it adheres firmly to the wall, exposing the loose seam.
Apply Wallpaper Seam Adhesive: Using a small paintbrush, apply a thin layer of wallpaper seam adhesive beneath the loose seam, ensuring even coverage.
Smooth and Flatten: Carefully smooth the wallpaper back down over the adhesive, using a small wooden seam roller to flatten it completely. This specialised tool ensures even pressure without damaging the wallpaper.
Clean Up Excess Adhesive: Wipe away any excess adhesive that may have seeped out onto the wallpaper using a damp cloth or sponge to ensure a pristine finish.
By addressing peeling wallpaper with precision and care, you not only restore adherence but also uphold the integrity of your wall's aesthetic. With the right tools and techniques, you can rescue your wallpaper from the brink of disarray, preserving its beauty for years to come.
Now that you know how to remove wallpaper and prepare your walls, you’re armed and ready to take on your next decorating project with ease. Whether you're tackling a single room or an entire home, let this guide serve as your trusted companion on the journey toward a refreshed and revitalised living space. Your dream home awaits – let's make it a reality together.